Nagoya in Two Days: A Practical 48-Hour Itinerary Without the Backtracking
A realistic 48-hour Nagoya plan with timed routes, official-source checks, budgets, maps, and closure alternatives.
A realistic 48-hour Nagoya plan with timed routes, official-source checks, budgets, maps, and closure alternatives.
Two days is enough to understand Nagoya if you resist the urge to turn the city into a checklist. The efficient plan is to divide it geographically: spend day one moving through the historic and central-city corridor from Nagoya Castle to Osu and Sakae, then use day two for Nagoya’s industrial story around the Toyota Commemorative Museum and Noritake Garden. That split keeps most journeys short and leaves room for the demonstrations, meals, and station navigation that usually take longer than a map suggests.
This itinerary suits a first visit, especially if you arrive the night before and sleep near Nagoya Station, Fushimi, or Sakae. It is less suitable if your main goal is Ghibli Park, which requires timed tickets and deserves most of a day, or if you want a relaxed museum-by-museum trip. In those cases, use the alternative day-two branch below rather than compressing everything.
> Current-source check — last checked July 31, 2026. Hours, admission prices, demonstration times, temporary closures, and transit fares can change. Recheck the official Nagoya tourism portal, Nagoya City Transportation Bureau ticket page, Nagoya Castle visitor information, and Toyota Commemorative Museum shortly before travel. Do not build a connection around an unverified platform number or the final train of the night.
Choose your two-day route
| Route | Best for | Skip or modify if | Approximate active time | Main tradeoff |
|---|---|---|---|---|
| Core city + industry | First-time visitors, architecture, food, Toyota history | You dislike machinery museums | 8–10 hours each day | Best overview, but day two is museum-heavy |
| Core city + slow city | Food, shopping, cafés, minimal planning | You want Toyota or rail history | 7–9 hours each day | More relaxed, less distinctive to Nagoya |
| Core city + Ghibli Park | Travelers with confirmed timed tickets | You do not already hold tickets | Full day two | Memorable but removes the industrial-city story |
| Core city + SCMAGLEV Railway Park | Railway enthusiasts and families | You want central neighborhoods | Full day two | Excellent specialist visit, longer suburban transfer |
Editorial judgment: for a first visit, choose core city + industry. Nagoya is frequently treated as a castle-and-food stopover, but its strongest two-day story is the connection between castle-era commerce, textile engineering, ceramics, and modern manufacturing. The Toyota museum is not an optional rainy-day filler in that story; it is the clearest reason to give Nagoya a second day.
The route at a glance
Day 1: history, Osu, and Sakae
| Target time | Stop | Transit logic | Allow |
|---|---|---|---|
| 8:00 | Nagoya-style morning service near your hotel | Start locally; do not cross town for one café | 45–60 min |
| 9:15 | Nagoya Castle and Honmaru Palace | Subway or Me~guru sightseeing bus | 90–120 min |
| 11:45 | Osu Kannon and Osu shopping streets | Subway via Kamimaezu/Osu Kannon | 2–2.5 hr including lunch |
| 14:30 | Fushimi choice: science or art/city walk | Short subway ride or walk north | 2–3 hr |
| 17:30 | Sakae, Oasis 21, and evening view | Walk or one subway hop | 2–3 hr including dinner |
Day 2: industry, ceramics, and a flexible finish
| Target time | Stop | Transit logic | Allow |
|---|---|---|---|
| 9:30 | Toyota Commemorative Museum | Me~guru, local train, or a practical walk/taxi from Meieki | 2.5–3.5 hr |
| 13:00 | Lunch around Nagoya Station | Return toward Meieki | 60–75 min |
| 14:30 | Noritake Garden and museum/shop zone | Walk or short bus ride | 1.5–2.5 hr |
| 17:00 | Meieki skyline, shopping, or early departure | Finish beside the main transport hub | Flexible |
<!-- route-map:v2 {"title":"Nagoya two-day core route","subtitle":"Day 1 central sights; Day 2 Meieki industrial heritage","center":{"lat":35.1706,"lng":136.8816},"zoom":13,"stops":[{"name":"Nagoya Castle","lat":35.1856,"lng":136.8990,"note":"Day 1 morning; verify current areas open"},{"name":"Osu Kannon","lat":35.1599,"lng":136.9005,"note":"Day 1 lunch and shopping corridor"},{"name":"Fushimi Station","lat":35.1687,"lng":136.8975,"note":"Museum or city-walk decision point"},{"name":"Oasis 21","lat":35.1707,"lng":136.9090,"note":"Day 1 evening finish"},{"name":"Toyota Commemorative Museum","lat":35.1832,"lng":136.8769,"note":"Day 2 anchor visit"},{"name":"Noritake Garden","lat":35.1799,"lng":136.8807,"note":"Day 2 ceramics and garden stop"},{"name":"Nagoya Station","lat":35.1709,"lng":136.8815,"note":"Day 2 finish and transport handoff"}]} -->
The map is for orientation, not live navigation. Open each stop in Google Maps on the day and use the city’s route planner for current service. Construction around stations and special-event traffic can alter the most convenient exit.
Day 1 morning: begin with breakfast, not a station sprint
Nagoya’s morning-service culture usually means ordering a drink and receiving a simple breakfast component, often toast and egg, during the participating café’s morning period. The exact set and cut-off vary by branch. Pick a café within ten minutes of your hotel instead of spending the first hour chasing a famous branch. The point is to start early, eat something modest, and reach Nagoya Castle close to opening.
If you stay near Meieki, this is a natural start before taking the subway or Me~guru bus. If you stay in Sakae, begin there and approach the castle from the east. Fushimi works as the middle ground. Travelers still choosing a base should compare the station access, nightlife, and walking tradeoffs in our forthcoming Where to Stay in Nagoya guide; until it is live, the safest operational rule is Meieki for early intercity departures and Sakae for evenings.
Day 1, 9:15: Nagoya Castle with the correct expectation
Allow 90 minutes if you mainly want the grounds and Honmaru Palace, or two hours if you read exhibits slowly. Nagoya Castle’s main keep has not been a conventional climb-the-tower visit; access restrictions and reconstruction planning make the official status page essential. Do not rely on an old article that promises a city view from the keep.
The richly reconstructed Honmaru Palace is the practical centerpiece. Visit it before lingering over every exterior viewpoint, especially on a busy day. Follow staff instructions regarding shoes, bags, photography, and one-way movement. The official visitor page lists current admission, opening hours, last entry, and closures; recheck it the evening before because special access rules can change.
Closure fallback: if the castle or the area you most want to see is closed, switch the morning to the Toyota Commemorative Museum and move its day-two slot to the Tokugawa Art Museum or a longer Noritake visit. This preserves the geographic logic better than waiting outside a closed gate.
Day 1 lunch: use Osu as a route, not one attraction
Travel south to Osu Kannon or Kamimaezu. Osu works best as a loose pedestrian corridor: temple precinct, covered shopping streets, side lanes, and a lunch chosen by queue length and appetite. Our Osu guide gives the neighborhood more room; for this itinerary, set a hard departure time so browsing does not erase the afternoon.
A realistic visit is two to two and a half hours including lunch. Keep cash available because small counters may not match the payment options of department stores. Eat hot street food where the seller permits it rather than walking through crowds with skewers or spilling sauce. If a line looks longer than 30 minutes, choose another shop: the itinerary gains more from a calm meal and an on-time museum entry than from one viral snack.
Food-focused travelers can make lunch the day’s main meal, then reserve dinner for tebasaki or another Nagoya specialty. If hitsumabushi is the priority, study the queue and ordering strategy in our Nagoya hitsumabushi guide and consider reserving that meal for day two, when the timetable is more flexible.
Day 1 afternoon: make one Fushimi decision
Do not attempt every museum around Fushimi. Choose one of these branches:
| Choice | Best for | Time needed | Important caveat |
|---|---|---|---|
| Nagoya City Science Museum | Interactive exhibits, planetarium interest, rainy weather | 2.5–3 hr | Planetarium admission and availability require current checking; a late arrival may not secure your preferred session |
| City Art Museum or special exhibition | Art-focused travelers | 1.5–2.5 hr | Exhibition calendars and closure days vary |
| Shirakawa Park + Fushimi city walk | Good weather, low budget, flexible pace | 60–90 min | Less compelling in heavy rain or summer heat |
| Skip to Sakae early | Shopping, cafés, easy evening | Flexible | Sacrifices a major indoor cultural stop |
The science museum’s 35-meter planetarium dome is a signature feature, but it should not be treated as guaranteed admission at any chosen time. Check the official tourism listing and the museum’s linked official information before arriving. If the session logistics do not work, use the exhibition floors or take the walking branch rather than waiting so long that dinner becomes rushed.
Travelers who prefer lighter pacing can walk from Osu toward Shirakawa Park, continue through Fushimi, and then head east to Sakae. This is the best version for architecture and street-level orientation, but in July and August the heat can make a short subway ride the more sensible choice. Carry water, use shaded arcades, and take heat advisories seriously.
Day 1 evening: Sakae without an overpacked checklist
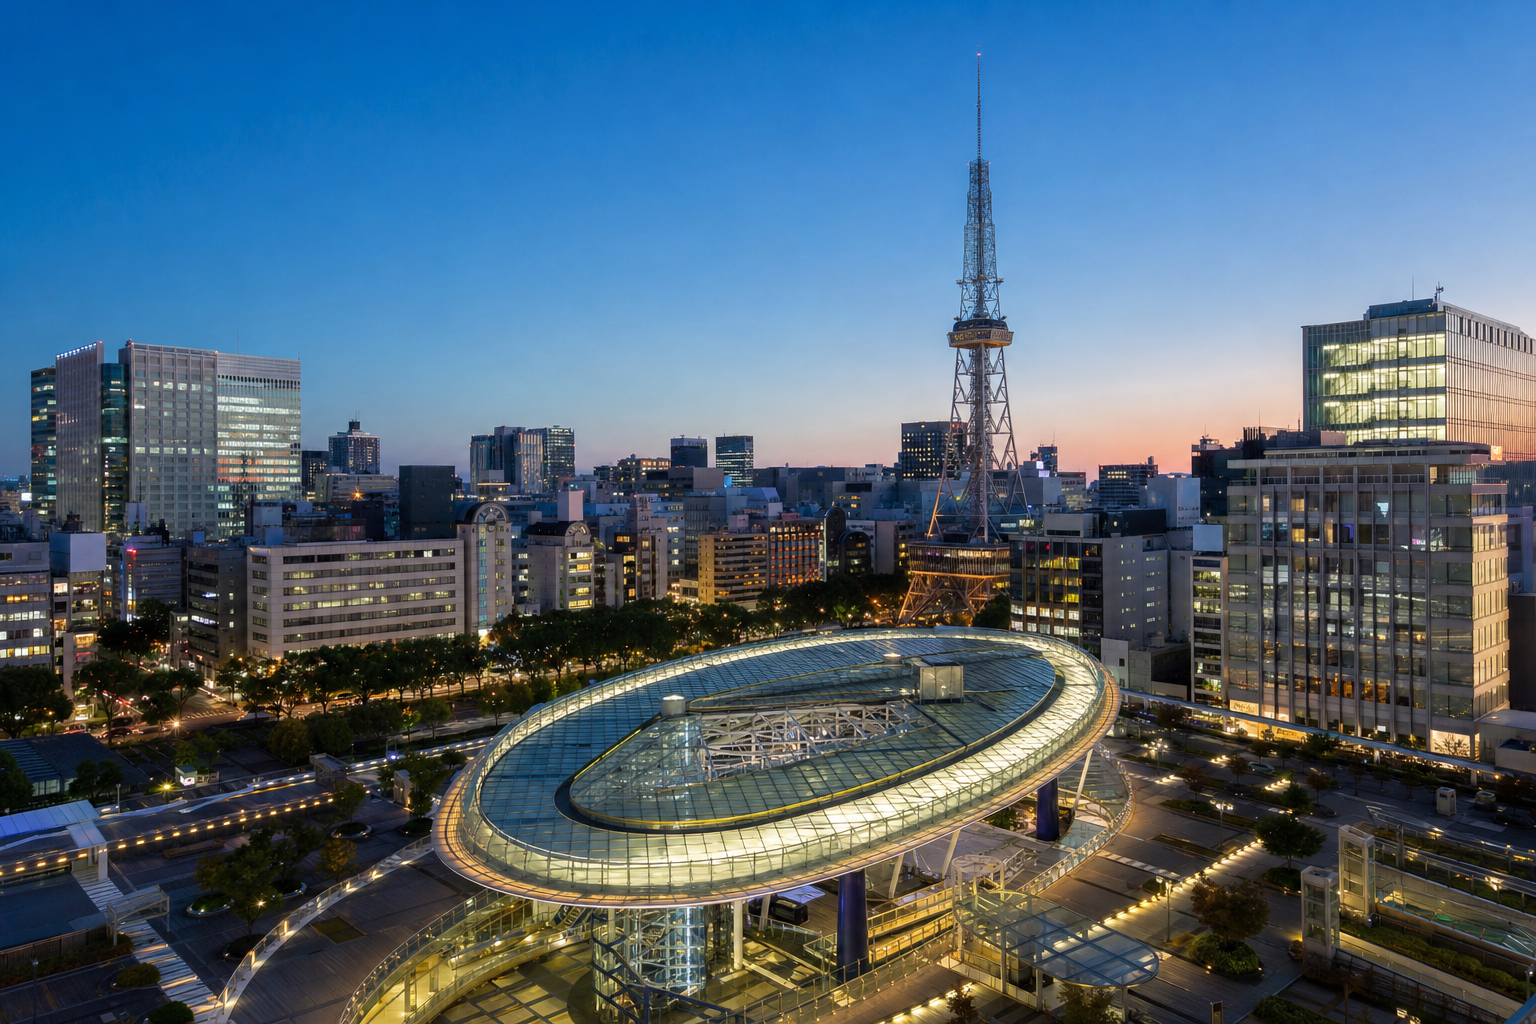
Finish around Oasis 21, whose elevated glass “Spaceship-Aqua” roof and lawn levels provide an easy orientation point. The official Oasis 21 listing should be checked for current access and events. From here, Sakae’s department stores, underground passages, restaurants, and observation options are close enough to choose by weather and energy.
A good evening sequence is:
1. Arrive before dusk and walk the public levels of Oasis 21.
2. Decide whether visibility justifies a paid observation deck; check the operator’s current hours and admission first.
3. Eat dinner nearby rather than returning across town for a restaurant with no reservation.
4. Take one direct subway ride to your hotel.
Avoid a late night if day two begins at the Toyota museum. Museum demonstrations are part of the value, and arriving near closing is a poor trade for an extra bar stop.
Day 2 morning: give Toyota’s industry museum enough time
The Toyota Commemorative Museum of Industry and Technology occupies historic factory buildings northwest of Nagoya Station. It begins with textile machinery before moving into automotive manufacturing, which is precisely why the visit is more informative than a room of finished cars. Working demonstrations explain the transition from looms and material handling to engines and production systems.
Plan 2.5 hours as the minimum and closer to 3.5 if you want demonstrations, technical labels, and the automobile pavilion without rushing. Check the official museum site for the calendar, admission, directions, and demonstration timetable. Weekly closing patterns and holiday substitutions matter: a generic “closed Monday” memory is not enough when a public holiday changes the schedule.
From Nagoya Station, choose among a local rail connection, the sightseeing bus when operating, a walk of roughly 20–30 minutes depending on your exit and pace, or a short taxi. The best option is situational:
| Access mode | Best for | Allow | Caveat |
|---|---|---|---|
| Me~guru sightseeing bus | Visitors pairing tourist sights | 15–30 min plus wait | Service days and frequency must be checked |
| Local train | Predictable movement | About 15–25 min door to door | Station navigation can consume the time saved |
| Walk | Light luggage, good weather | 20–30 min | Unpleasant in heat, heavy rain, or with mobility constraints |
| Taxi | Two to four people, tight timing | 10–15 min in light traffic | Traffic and fare vary |
Day 2 lunch and Noritake: keep the middle of the day compact
Return toward Meieki for lunch, or eat near the museum if you see a suitable option. Nagoya Station’s underground malls and tower complexes offer immense choice but are easy to navigate badly. Agree on a named meeting point before splitting up, and screenshot the restaurant address in Japanese. “Meet at Nagoya Station” is not a usable instruction.
Then continue to Noritake Garden. The site connects Nagoya’s ceramics history with preserved industrial architecture, gardens, shopping, and museum or craft experiences. Some outdoor areas can be enjoyed quickly, while paid or hands-on components require more time and may have separate schedules. Check the official Nagoya tourism listing for Noritake Garden and follow its official links for current details.
Allow 90 minutes for a garden-and-shop visit or up to 2.5 hours if the museum and craft elements are central to your interests. This stop also creates a forgiving day-two buffer: if the Toyota museum runs long, shorten Noritake rather than racing through both.
The alternative day-two branches
Choose only one alternative. With confirmed tickets, Ghibli Park replaces the whole industrial day; our Ghibli Park guide explains the ticket scope. Railway enthusiasts can instead devote day two to SCMAGLEV Railway Park after checking its calendar, admission, simulator rules, and Aonami Line access. For a slower day, stay around Meieki, Noritake, Shikemichi, and Endoji, with one long meal and no extra admission deadline.
Transport pass and budget logic
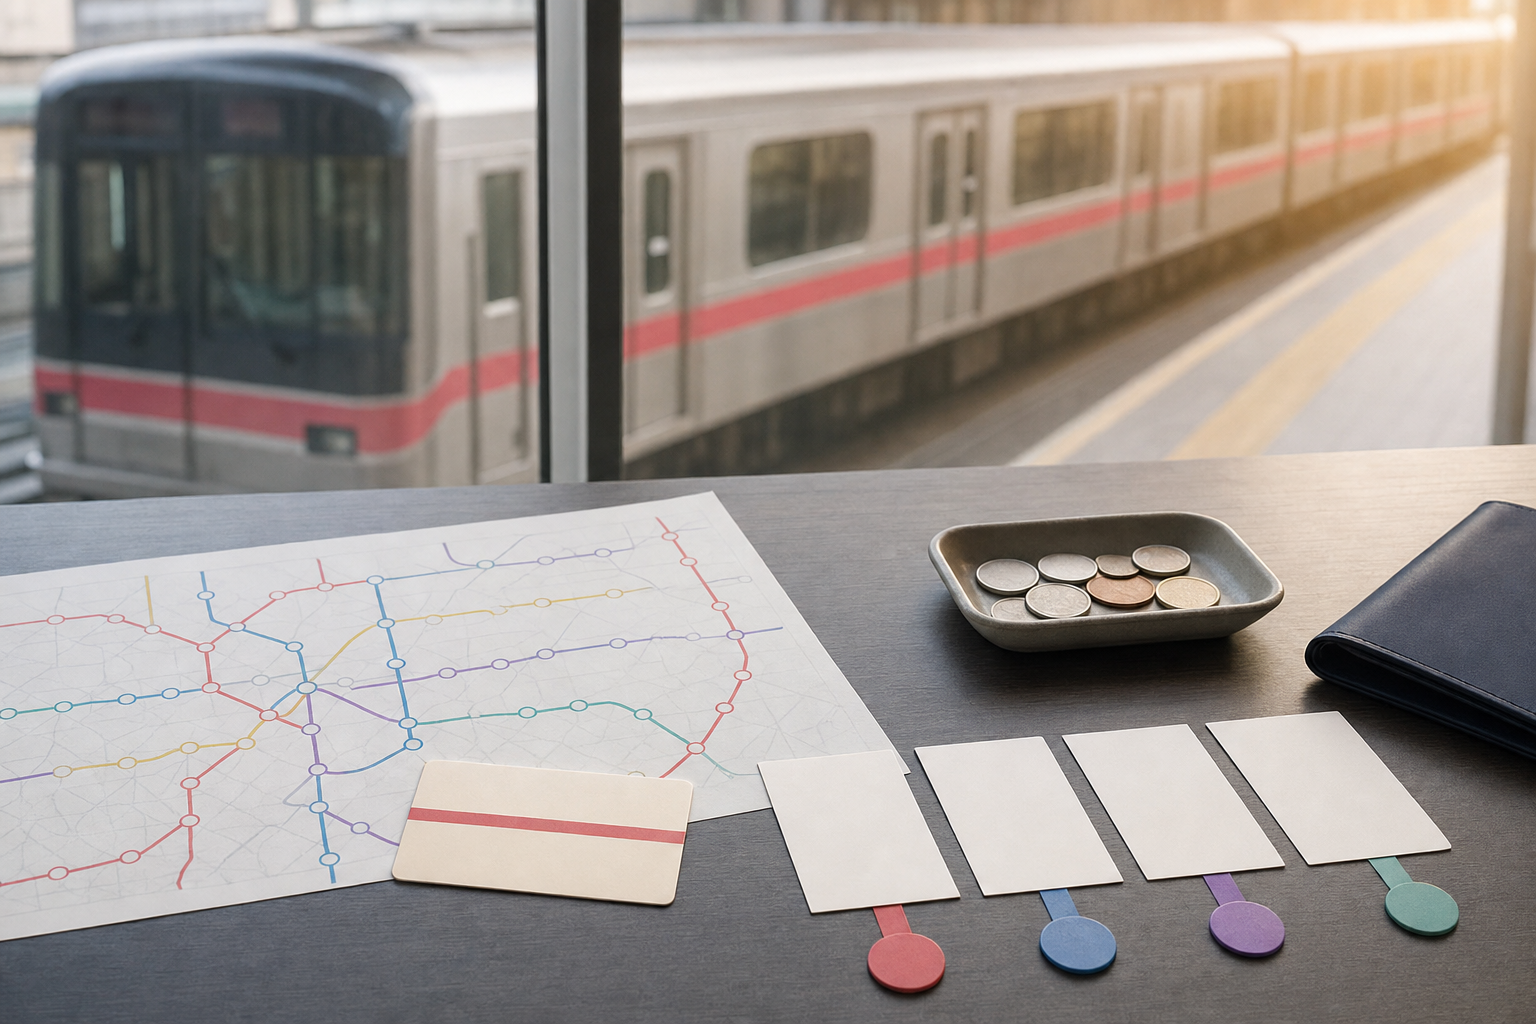
Do not buy a pass automatically. Compare the current adult price on the official Nagoya transport ticket page with your expected rides. The subway 24-hour ticket is timed from first use, while other day-ticket products can have different validity rules. Me~guru may have its own operating pattern. IC cards remain useful for flexibility but do not create a pass discount simply because you ride often.
Use this planning range, then replace it with live prices:
| Budget item | Low-cost plan | Comfortable plan | Notes |
|---|---|---|---|
| Urban transport, two days | ¥1,500–¥2,500 | ¥3,000–¥6,000 | Higher range allows taxis; verify pass economics |
| Attraction admissions | ¥1,000–¥3,000 | ¥3,000–¥6,000 | Planetarium, observation deck, and special exhibits change totals |
| Food | ¥5,000–¥8,000 | ¥10,000–¥18,000 | Specialty meals and drinks create the largest variation |
| Total excluding hotel | ¥7,500–¥13,500 | ¥16,000–¥30,000 | Planning range, not a quoted package price |
These are budgeting envelopes, not current tariffs. Verify every paid stop. Keep one reserve payment method and enough yen for a replacement meal or taxi if service is disrupted.
Rain, Monday closures, and late-arrival recovery
Heavy rain: prioritize Toyota, the science museum, underground Meieki, and covered shopping. Do not assume every elevated or outdoor deck remains open. Shoes with wet-surface grip are more valuable than an ambitious garden schedule.
Monday or holiday closure: consult each attraction’s actual calendar. If Toyota is closed, make day two Tokugawa Art Museum plus Sakae or a rail-park branch if its calendar works. If the science museum is closed, extend Osu and use Fushimi as a walking-and-food link.
Late arrival on day one: skip the castle rather than entering near last admission. Begin with Osu and Sakae, then choose either the castle or Toyota on day two according to opening status. If you have only one usable day after all, use our one-day Nagoya itinerary rather than cutting every stop in half. Travelers with more time should use the three-day Nagoya itinerary to separate the cultural and industrial days properly.
Safety and disruption notes
Nagoya is generally straightforward to navigate, but a useful itinerary needs a recovery plan. Before travel, check any applicable travel advisory and Japan Meteorological Agency warnings. In an earthquake, typhoon, other natural disaster, transport suspension, or emergency, follow instructions from station and attraction staff rather than attempting to complete the route. Use Japan's emergency numbers 110 for police and 119 for fire or ambulance. Ask your hotel to confirm the safest current route if severe conditions develop. International visitors who lose travel documents or face a serious legal or medical problem should use their saved embassy contact or consulate details. Avoid dark, unfamiliar shortcuts late at night, keep valuables controlled in crowds, and treat an unsolicited invitation to a bar or cash machine as a scam warning.
Common mistakes to avoid
- Treating Nagoya Station as one small building. Save the exact exit, tower, or underground mall name.
- Assuming Nagoya Castle’s keep is open. Check the official status, not an old photo caption.
- Building around a planetarium session you have not secured. Keep a museum-floor or city-walk fallback.
- Ignoring museum demonstration schedules. They can be the most useful part of the Toyota visit.
- Crossing town for every famous food. Choose specialties by the area already on your route.
- Buying a day pass before counting rides. A 24-hour product and a calendar-day product are not interchangeable.
- Planning outdoor walking through peak summer heat. Shorten the route, use transit, hydrate, and follow local heat warnings.
- Leaving luggage in the plan. Store it at the hotel or station before starting; locker availability is never guaranteed.
Two-day departure checklist
- Confirm opening calendars for both anchor attractions.
- Confirm any planetarium, special-exhibition, or timed-entry requirements.
- Save official route and ticket pages offline.
- Check weather, heat, and severe-weather alerts.
- Put the day-two attraction before shopping if it has a firm last admission.
- Set a named Nagoya Station meeting point.
- Keep cash, an IC card or tickets, and a backup payment method.
- Leave at least 45–60 minutes of margin before an intercity train or airport connection.
FAQ
Is two days enough for Nagoya?
Yes for a strong first overview. Two coherent days cover the central historic corridor, Osu and Sakae, plus one major industrial or specialist branch. Two days are not enough to include Ghibli Park, multiple day trips, and every central museum without sacrificing useful time at each stop.
Should I stay near Nagoya Station or Sakae?
Choose Nagoya Station for early trains, airport handoffs, and the easiest day-two finish. Choose Sakae for restaurants and evening atmosphere. Fushimi is a quieter middle position with convenient access to both, but it has less late-night energy than Sakae.
Can I combine Nagoya Castle and the Toyota museum in one day?
Yes, but the two-day plan is better when you also want Osu, Fushimi, and Sakae. If you combine them, start at whichever has the less forgiving opening or demonstration schedule, allow a real lunch break, and drop one secondary neighborhood.
Is Ghibli Park possible on day two?
Yes, with confirmed tickets. It replaces day two rather than fitting beside the industrial route. Recheck the official ticket scope, entry time, park access, and return transport.
What if I travel on a museum closure day?
Use official calendars to swap the two days when possible. Otherwise choose an open specialist attraction, extend Osu and Sakae, or build a slower Meieki–Noritake–Endoji route. Never assume all museums share the same holiday substitution rule.
Do I need a subway pass?
Not necessarily. Count the journeys in your chosen branch and compare the sum with the current official pass price. A pass can be worthwhile on the central sightseeing day; day two may involve more walking, a sightseeing bus, local rail, or a taxi.
The practical takeaway
The best Nagoya two-day itinerary is not the one with the most pins. It is the one that preserves two complete stories: castle-era and central-city Nagoya on day one, then the manufacturing and design city on day two. Protect the anchor visits, choose only one afternoon branch, and let meals follow the route. With current official checks and one closure fallback saved before departure, 48 hours feels deliberate rather than rushed.